In this tutorial, I’ll give you an introduction on how to record and publish your Say Some Words video in six simple steps. You may change your settings at any time in your dashboard or replace your video, without having to go through all the steps again.
STEP 1: Adjusting the camera
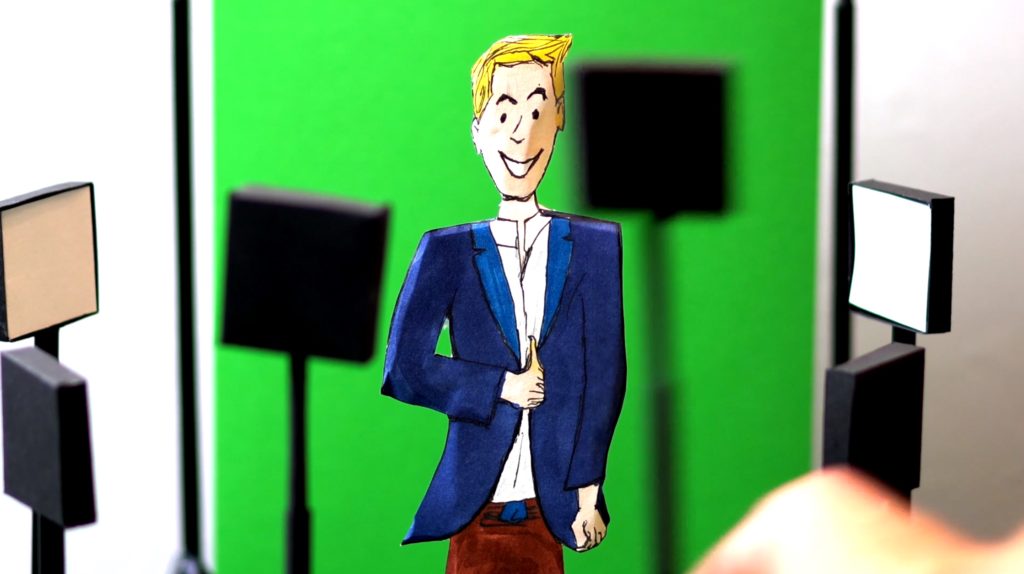
To record your video avatar you need a video camera, good lighting and a green background. You can also use your smartphone camera. We recommend recording in full HD quality with at least 1920×1080 pixels, which is often found as 1080 format in the camera settings.
Depending on how you show yourself in the video, shooting in portrait mode is probably more reasonable. Although you can’t make wide gestures, you’ll be visible from head to toe in your video avatar, depending on your preference.
Use the camera window as full as possible, because your avatar will look smallish on your website otherwise.
STEP 2: Setup your background
Ideally, use a blue or green background, depending on which color shall removed later. For example, if you wearing a blue shirt and green pants, you’ll need to pick another strong background color. You may try orange in that case.
You can simply use a colored wall as the background or get a photo or video background. You may find those in online stores searching for “Green Screen Background”. Self-spanning backgrounds are easy to handle and can be stowed quickly after usage.
Setup your camera on a tripod to the background that cropping isn’t necessary anymore. Move your lens closer to avoid edges in the video frame.
If this is not possible, you may crop it later in a further step. For example, you find several solutions by searching for “Crop Video Online”. For free you may use OpenShot Editor.
The background must be lit well before starting. Color gradients and shadows shall not be visible in the recording.
STEP 3: Lighting instruction
Smooth background illumination is accomplished with two strong spotlights from left and right. Face it from the side onto the background, or try to use daylight. If you film outside make sure you got nice weather, little wind and a quiet environment. Even though today’s smartphones are waterproof, rain isn’t an acceptable condition.
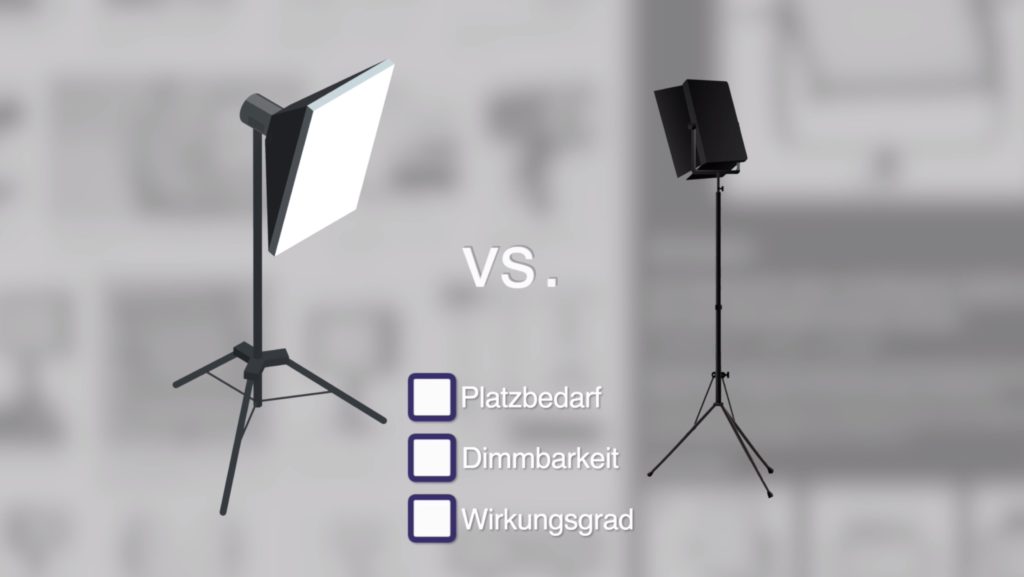
As spotlight you may use LED video lights or use video softboxes. Softboxes are about 50% cheaper available to purchase. But they require much more space and cannot be dimmed.
It’s important that the spotlights illuminate the background evenly without color gradient. They must not irradiate the person to be filmed, as this would create a shadow on the background, that can’t be filtered out later.
Another light source from the back removes green edges around the person’s contour. Sometimes it appears in the hair, so you should illuminate the head from the back with any lamp. Place it either behind the background or use two of them from left and right, if available. The background light does not have to be a proper video light. It also works with an ordinary lamp, that is ideally dimmable.
The main light, that illuminates the face and body comes from the front. Depending on how much the background is lit, you’ll need a lower lighting that avoids creating a shadow from the person.
Of course, you can also setup two spotlights left and right to create an awesome limelight.
If your frontal light source is not dimmable, orientate it away from your body to use only the reflected light. A rescue blanket is a great reflector because you can choose between warm and cold light. The silver side creates cold and the golden side warm light.
STEP 4: Audio recording setup
For the best possible sound quality, the distance between your tongue and the microphone should not exceed more than 1 meter. Depending on your camera lense and the avatar size you will need an external microphone. We recommend a clip microphone (also called Lavalier microphone) with an extension cable to the smartphone or your camera.
If you are just making a portrait video from you, an unidirectional microphone should be fine. It simply sticks in the smartphone connector. Anyway, the room where your recording takes place must not got a strong reverb. Small rooms with furniture work even better if you add a carpet.
Depending on the smartphone or camera model, look for the right connector if you purchase an external microphone. Actually, the latest iPhone is limited to the Lightning connection.
You can find a list of our recommendations for your video, light and sound equipment at saysw.com/support
Before purchasing you may try your avatar video recording simply with your smartphone microphone, a green wall with good daylight conditions and your outstretched arm. Anyway, for shake-free shots you will need to fix your camera or smartphone on a tripod.
STEP 5: Upload your video
Once your video is recorded, you may upload it on our website. If your video has to be shorten or cropped before, you can do that with any video editing software of your choice.
Once your upload has been completed, you can right adjust the settings on how your video should appear on your website later. For instance, you may align it left, right or centered or specify its size on your website. If you engage your website visitors with call-to-actions, you can directly create the buttons, that will appear later on the video.
STEP 6: Final website integration
Your video will appear on your website once you added our widget code. If you use a content management system such as WordPress, you may easily add this with a plugin. Of course, you can also pass the two HTML lines of our widget code to your webmaster.
It will be instantly created after saving your settings.
For more information visit saysw.com/support
If you have questions, please use the contact form on this page. We will help you publishing your video avatar and we’ll be happily to answer your questions. 💙